 Outputting graphics for the Web effectively is an important part of the process and a skill.
Let’s use an example. Most of my posts have a small header graphic (I call it header, it’s not really a header) that appears in the top left corner of the post. Today, I’ll guide you through the steps I use to create this header and optimise it for the Web. I’m going to use one of the images I used in a post yesterday.
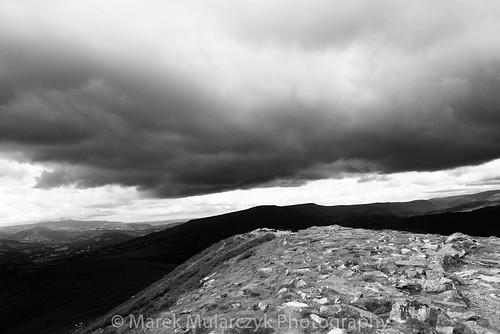
Here’s the bigger image:

This is not the original image as the original was the Raw file, this image is 500px x 334px and it’s a Jpeg that was created from a Raw file in Lightroom. The end result will be the small version of this image. The size I use for my blog header is 200px on the longer side and 130px on the shorter side (200px Wide x 130px High).
The image we’re starting with, has been optimised so the 500px wide image is only 80kB. Our aim for the header image is to be less than 10kB.
(if you want to work with the same image, you can download it from my blog here, just bear in mind that the image is copyrighted, as long as you use it for practise that’s fine, but you can’t use it for any public work)
Here are the steps:
1. Open the image in Photoshop .
2. Make sure the image is in RGB colour mode by choosing Image > Mode > RGB Color.
3. Enter Save for Web and Devices by choosing File > Save for Web & Devices.
 4. In the Save for Web & Devices dialog box, click on 2-Up tab in the top left corner to display the original image and the optimised version to compare the results.
 5. Click on the bottom (or right) image and in the top right corner of the dialog box select JPEG from a drop-down menu.
 6. As you select JPEG, to your right you’ll notice the Quality slider. Start moving it and keep looking at the image to see how it changes. Try to go as low as possible while keeping the quality.
7. Near the bottom right corner you’ll find a section called Image Size. That’s where you’ll resize the image to fix the desired size (in my case 200px on the width). Next to W (width) type 200px and press Tab on your keyboard. The height changes accordingly.
I’ve manged to lower the Quality to 59% and got a file size of 5.8kB. That’s really good!
8. Click Save and you’re done. Give it a name when the Save dialog box appears.
Well done! 🙂

